Digital photos in site 17 by Lank Mills (A1) and Juan Corrin (A2 - D4).
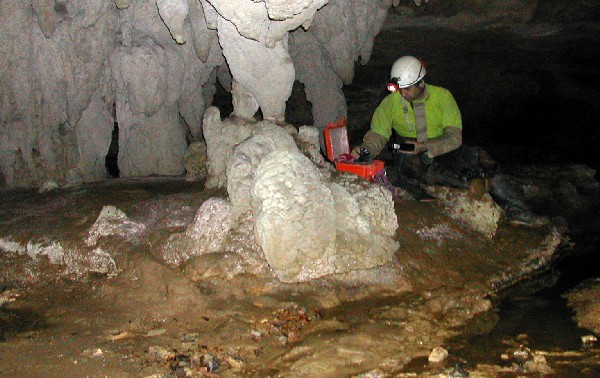
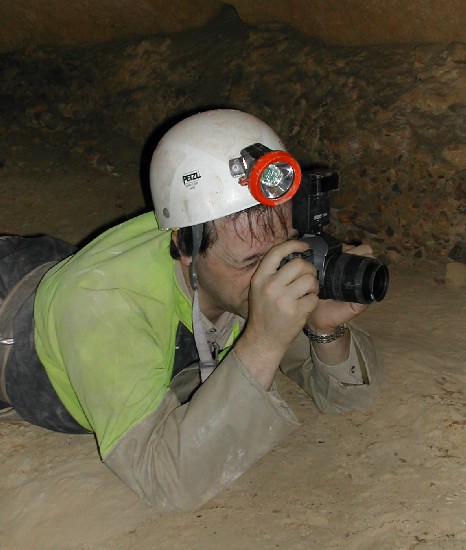
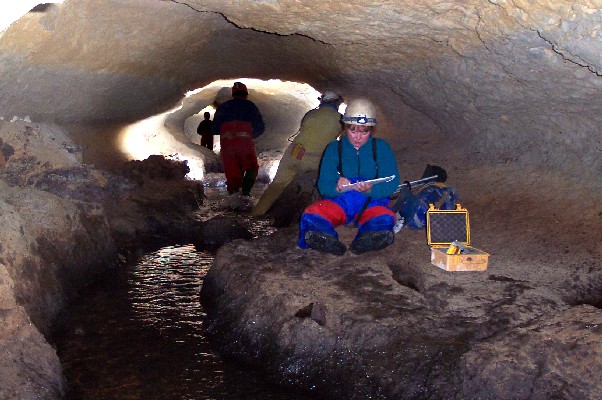
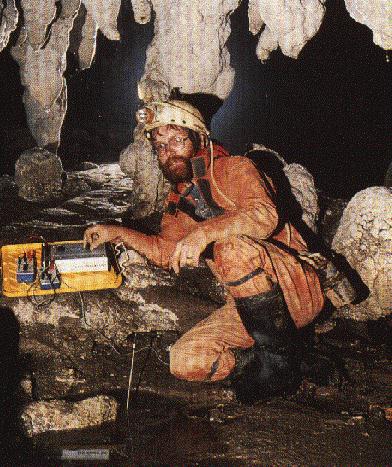
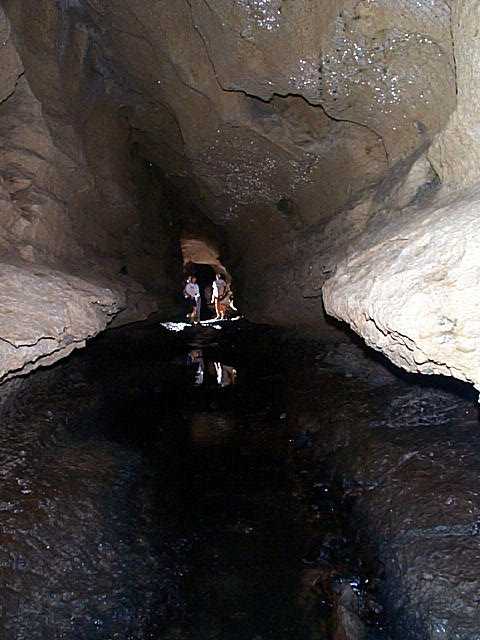
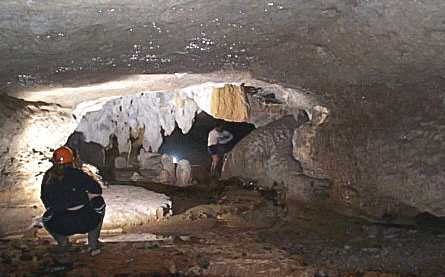
A1: Juan Corrin with loaned Philip Harris data sensors just out of the stream.
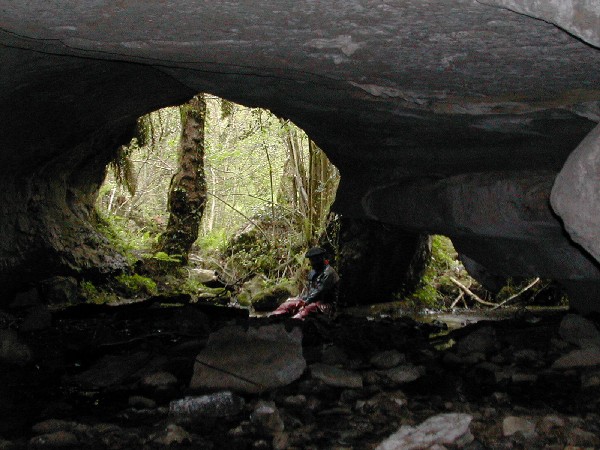
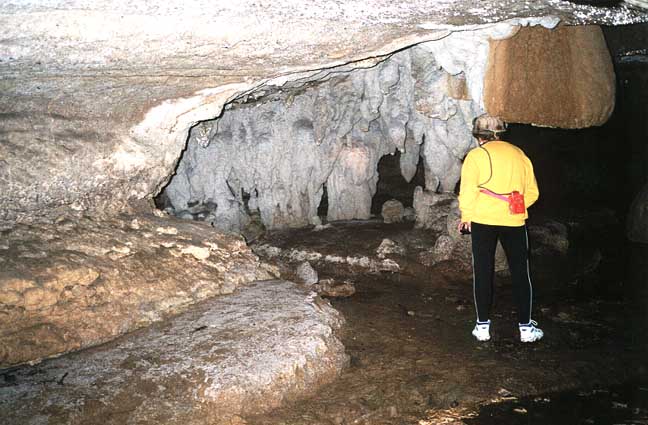
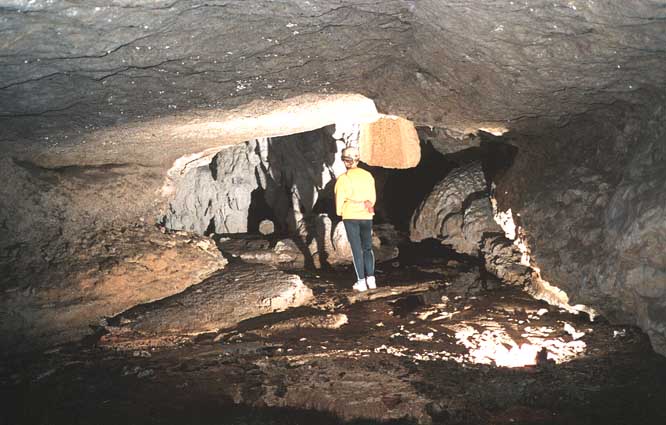
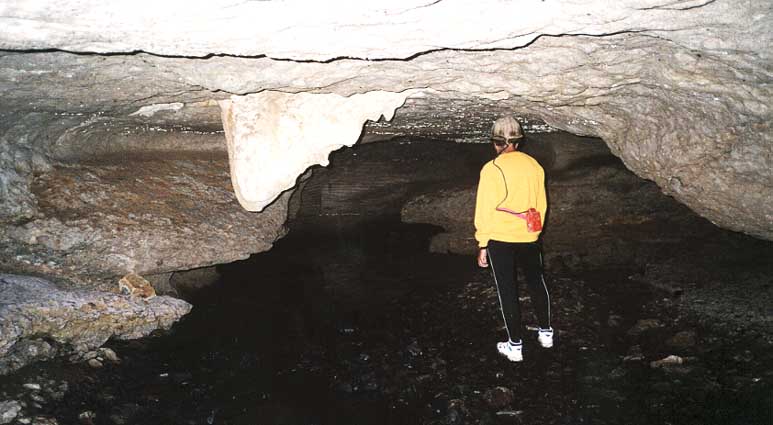
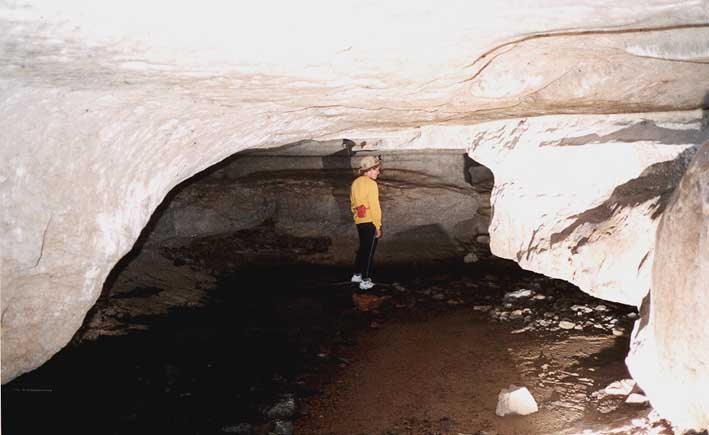
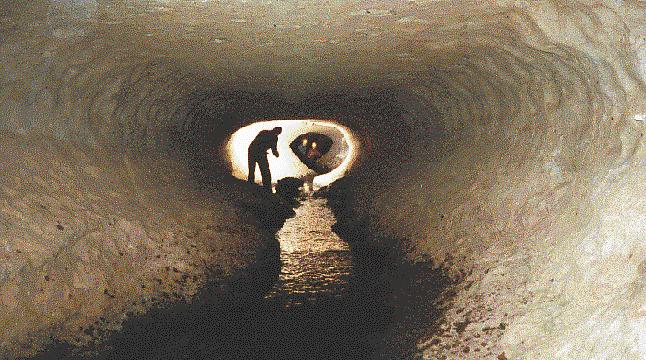
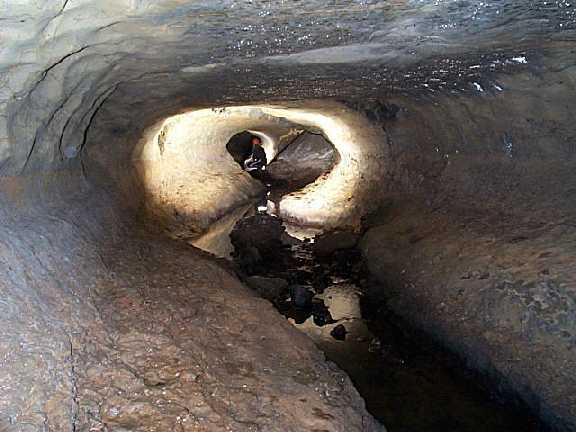
A2: The phreatic tube, slightly down-cut, near the bottom entrance.
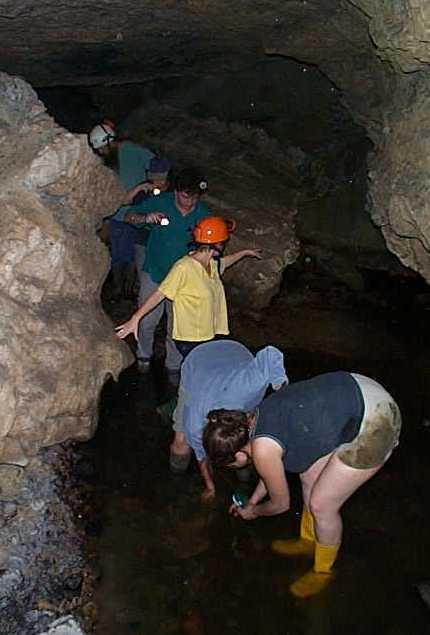
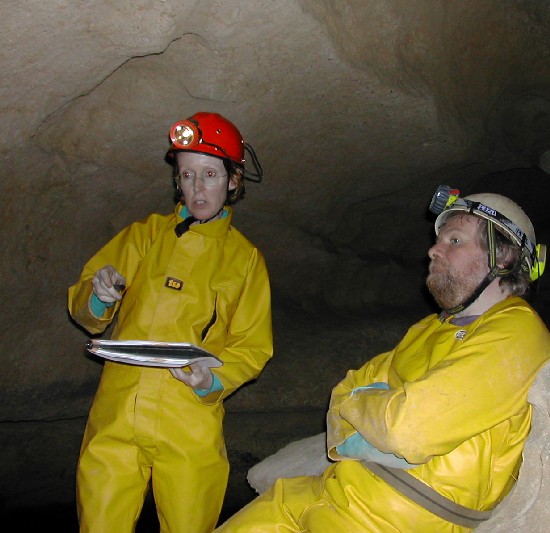
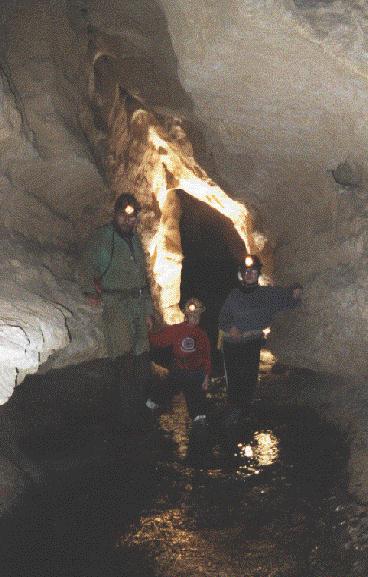
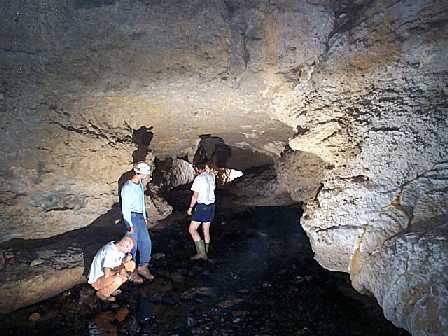
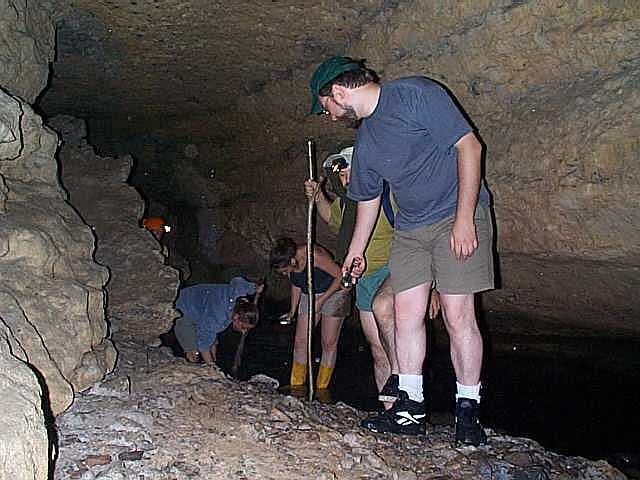
A3: Bob and Lloyd Cawthorne and Jenny Corrin in joint-guided passage.
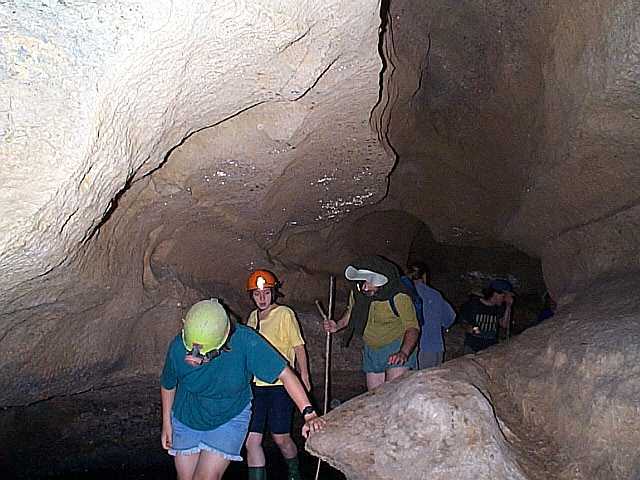
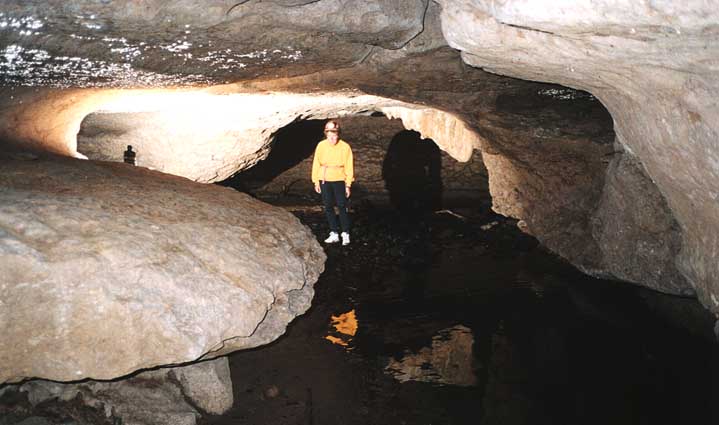
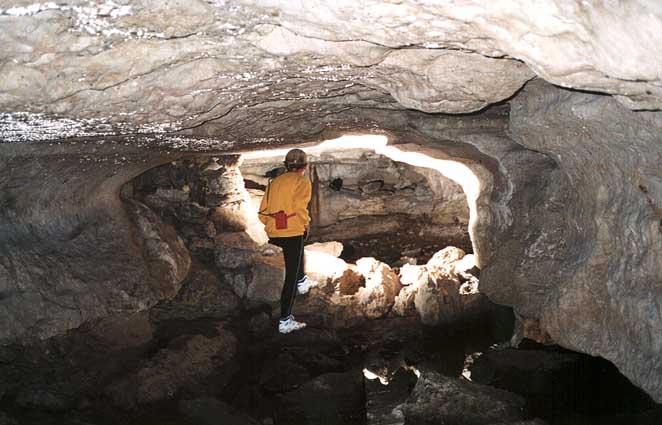
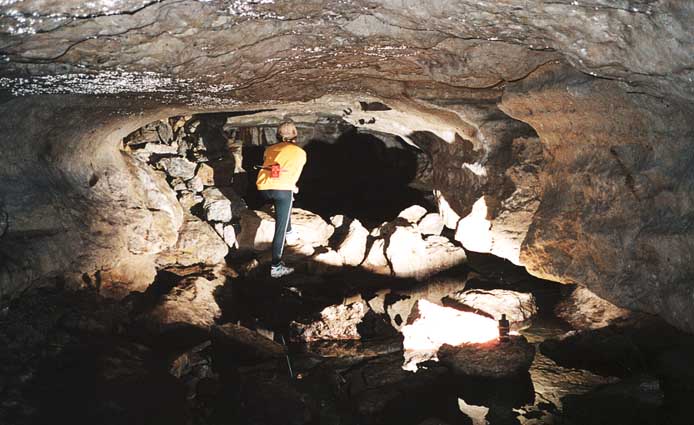
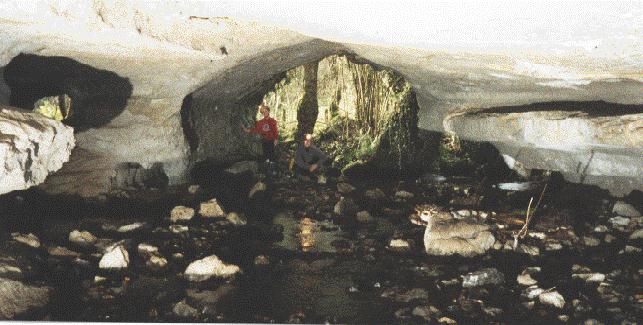
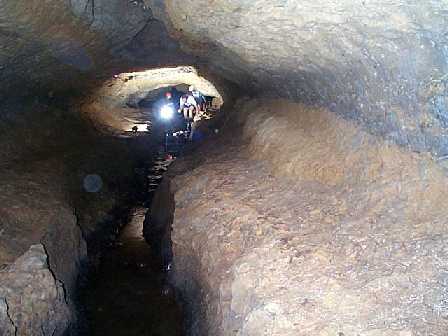
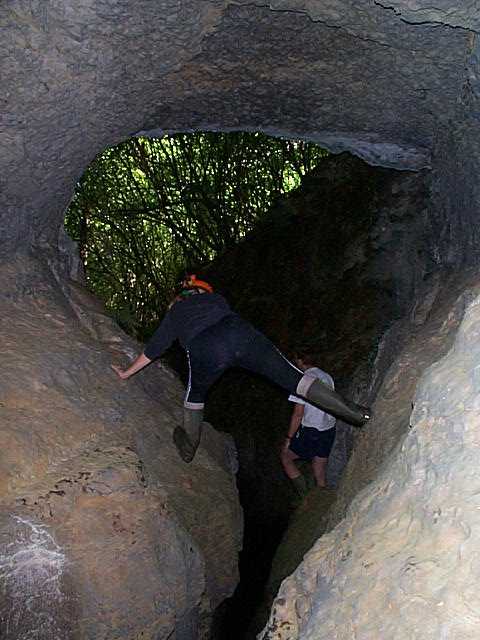
A4: Lloyd Cawthorne and Jenny Corrin at the top entrances to Jivero 2. A5: Stream passage in Jivero 2.
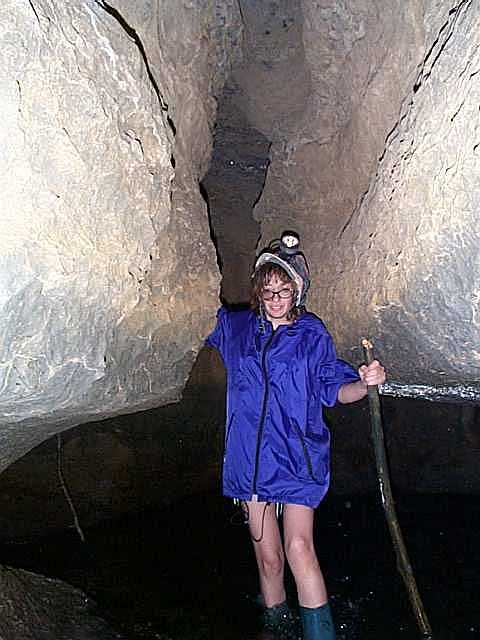
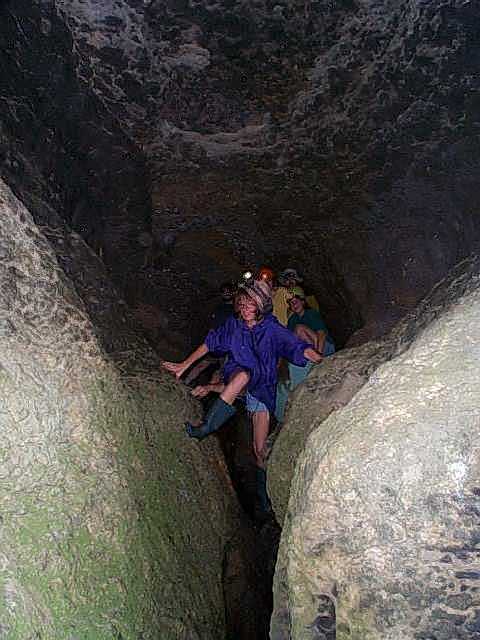
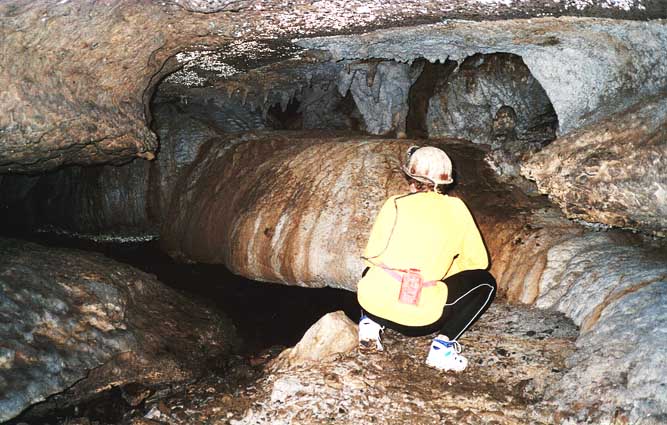
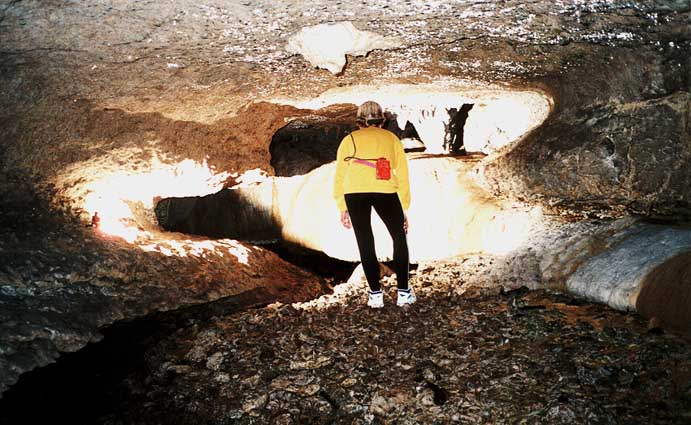
B1: Formations in Jivero 2. B2: Jivero 2 passage. B3, B4: Tube and trench in Jivero 2.
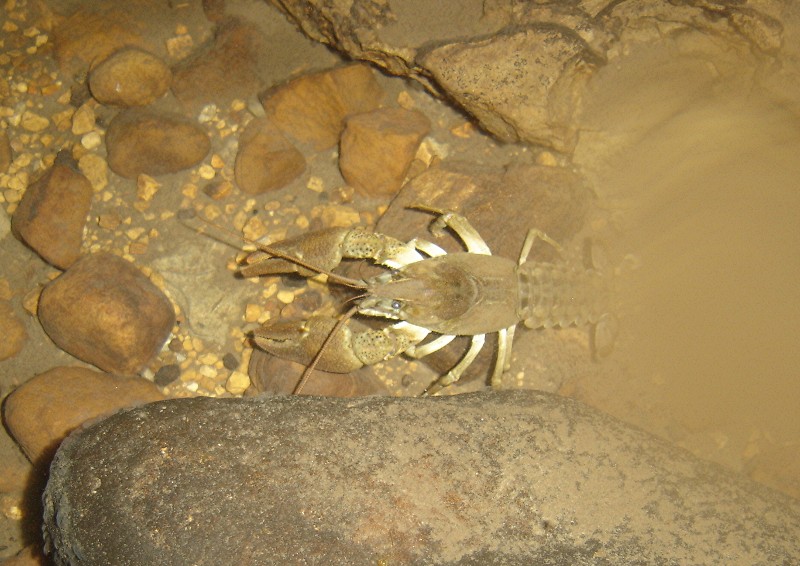
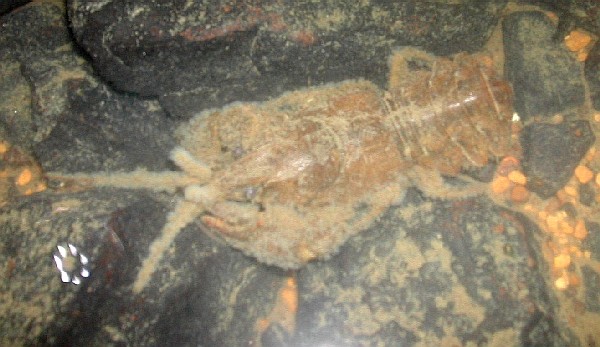
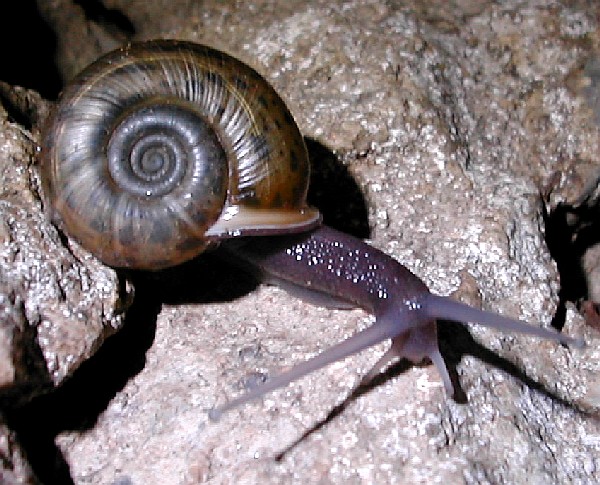
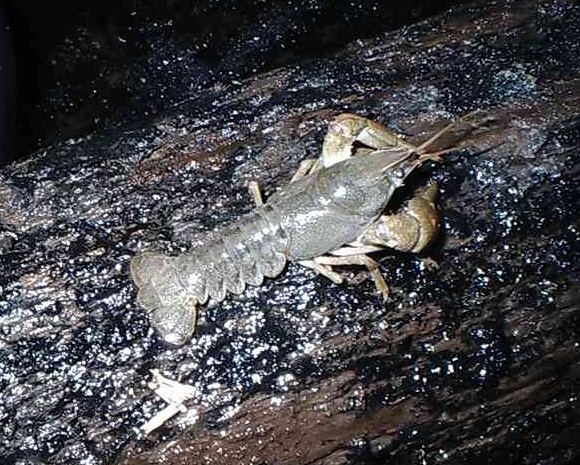
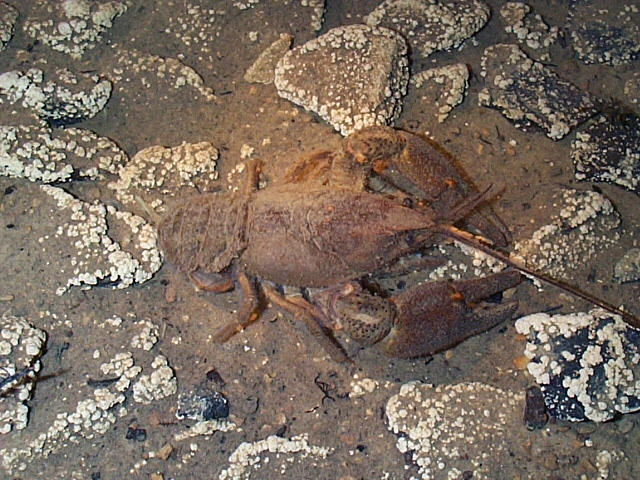
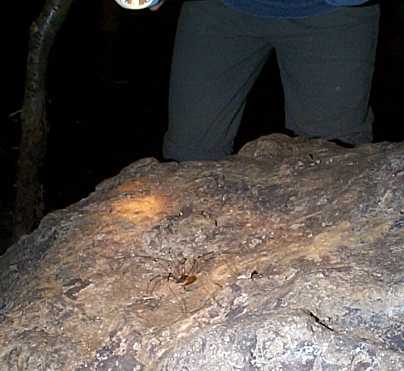
B5: Bottom entrance. C1, C2: Crayfish, 1999.
C3 - D4: Visit of members of the EcoCulturas group, summer 2000.
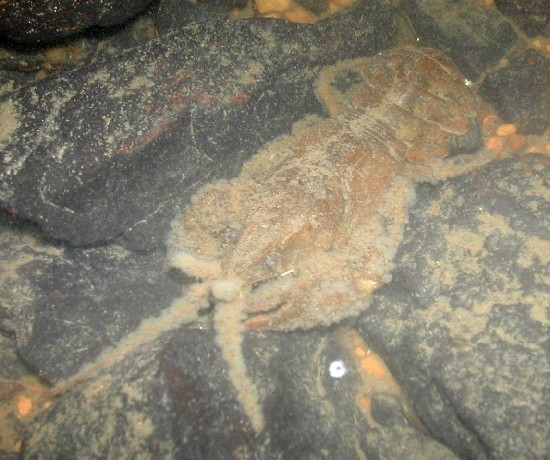
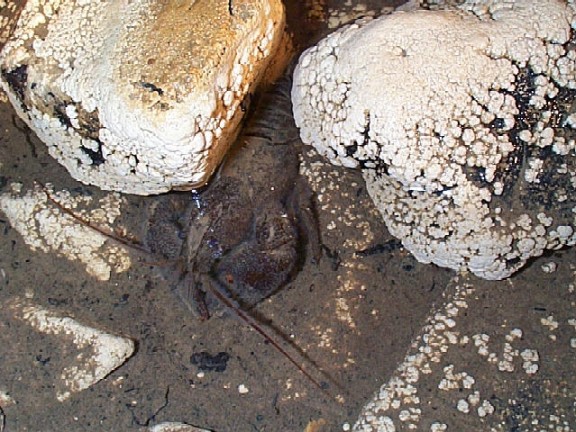
D5: Crayfish, 2008.

1

2

3

4

5

A

0017.jpg
0017a.jpg
0017b.jpg
0017c.jpg
0017d.jpg

B

0017e.jpg
0017f.jpg
0017g.jpg
0017h.jpg
0017i.jpg

C

0017j.jpg
0017k.jpg
0017l.jpg
0017m1.jpg
0017m2.jpg

D

0017m3.jpg
0017m4.jpg
0017m5.jpg
0017m6.jpg
0017-tb-2008s-02.jpg

Digital photos by Rhian Hicks
(Easter 2003)
with members of the International Society
for Spelaeological Art
(ISSA)
0017-rh-01.jpg 0017-rh-02.jpg 0017-rh-03.jpg
0017-rh-04.jpg 0017-rh-05.jpg 0017-rh-06.jpg
0017-rh-07.jpg 0017-rh-08.jpg 0017-rh-09.jpg
0017-rh-10.jpg 0017-rh-11.jpg 0017-rh-12.jpg
0017-rh-13.jpg 0017-rh-14.jpg 0017-rh-15.jpg
0017-rh-16.jpg

Digital photos by Andy Morse (2) and Elspeth Hullatt
(Easter 2003)
with members of the
International Society for Spelaeological Art
(ISSA)
0017-am-2003-01.jpg 0017-am-2003-02.jpg 0017-eh-2003-01.jpg

Scanned photos near the top entrance by Harry Long. Click to enlarge.
The wall can be seen in photo 8.
0017-hl-01.jpg 0017-hl-02.jpg 0017-hl-03.jpg
0017-hl-04.jpg 0017-hl-05.jpg 0017-hl-06.jpg
0017-hl-08.jpg 0017-hl-09.jpg 0017-hl-10.jpg
0017-hl-07.jpg